Do Houseplants Grow Better with Coffee Grounds? A Simple Controlled Experiment
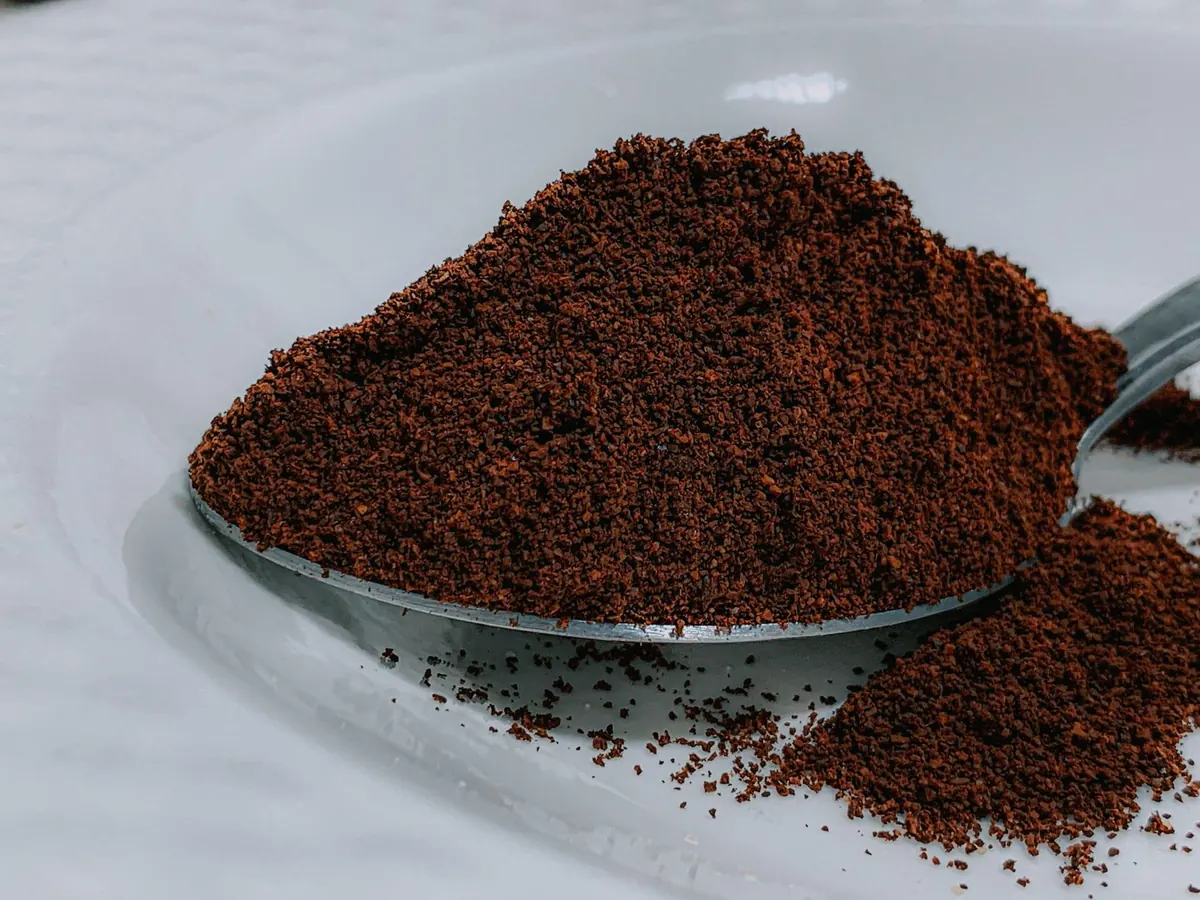
A jar of spent coffee grounds sits by a lot of kitchen sinks with a vague sense of purpose. They look dark and soil-like, they smell rich, and half the internet treats them as free fertiliser for houseplants. The truth is more modest: grounds are useful, but not in the way the enthusiastic posts suggest. The only way to know what they do on your windowsill is to compare them against a control.
This experiment takes an afternoon to set up and roughly ten weeks to read. It uses spider plant offsets or pothos cuttings because both root easily, shrug off average indoor conditions, and keep producing new leaves while you watch. You do not need a lab. You need a dozen small pots, one bag of compost, and the discipline not to change three things at once.
Grounds are a mild nitrogen source. Most of that nitrogen is locked inside organic compounds that microbes have to break down first, so it arrives slowly rather than in a rush. Think of them as a light tonic, not a replacement for feeding.
On acidity, the reputation is overstated. Fresh grounds are acidic, but most of that acidity ends up in your cup. Spent grounds sit close to neutral — similar to the compost you started with. The old warning about souring soil applies mainly to unbrewed grounds dumped in bulk.
Texture is the underrated part. Grounds are fine and hold water well, which can help a dry, bark-heavy peat-free mix at low rates. At high rates they mat together, and a matted layer repels water instead of absorbing it. A good deal of the caffeine has also been rinsed out, which matters: fresh grounds can slow seedling growth, while spent ones are gentler.
So the realistic expectation is small. A modest change in colour and leaf production at low doses, a stall or a mouldy surface at high doses. Anyone promising dramatic growth is selling something.
Vague questions produce vague answers. Try this instead: does adding spent coffee grounds to multipurpose compost change the growth of spider plant offsets over ten weeks, compared with the same compost without them?
One variable, everything else identical. Same species, same pot size, same compost, same light, same watering, same starting size. If you change the compost and move half the plants to a sunnier shelf, you have learned nothing except that sun is nice.
Aim for four plants per group if you have the space, six if you can manage it. More plants means a single sulking cutting is less likely to skew everything.
Measure by volume with a jug or a scoop, not by eye. An extra handful in one pot is exactly the sort of sloppiness that makes you doubt your own results later.
Count and measure the same things, at the same time, every week. Mark the leaves that exist on day one with a tiny dot of pen or a photo, so you never have to guess which are new.
Take weekly photos from a fixed angle with a ruler in frame. A picture from a different corner of the room, in different light, will mislead you more than no picture at all. And remember that a windowsill trial only tells you about your windowsill. That is not a weakness — it is the whole point of doing it yourself.
Wet grounds straight from the machine are the usual culprit. They clump, go mouldy, and smell like a forgotten flask. Dry them first. A thick top-dressing is the second trap: a few millimetres is fine, a centimetre or more crusts over and sheds water.
Other easy errors: different pot sizes, moving the coffee group somewhere brighter because it looks paler, and overwatering the dark compost because it looks damp when it isn't. Give the trial ten weeks minimum. Compost amendments work slowly, and a fortnight proves nothing.
One practical note: skip syrupy or flavoured leftovers and stick to plain grounds. If you are sensitive to mould or dust, wear a mask when repotting and keep furry pots out of bedrooms. If you are unsure whether that is a concern for you, ask a pharmacist.
If the low-dose plants keep pace with the control, or edge slightly ahead, with clean leaves and no mould, you have a reasonable case for a modest sprinkle. If the high-dose group lags, yellows at the tips or grows a fur coat, that is a clear result too: dose matters far more than the ingredient does.
Be prepared for no difference at all. Multipurpose compost already holds enough nutrition to keep a pothos going for months, so any effect from grounds will be small and slow. A flat result is still a useful answer, and it is worth writing down properly rather than quietly forgetting.
Dry them, store them in a paper bag, and use them at a sensible rate. A thin sprinkle across the surface of a plant in active growth is harmless, and stirring it lightly into the top centimetre keeps it from crusting. Better still, mix up to about a tenth of your potting volume into the compost when you repot.
Keep feeding as normal. Grounds are a supplement, not a fertiliser regime, so continue with your usual diluted feed through spring and summer. If you have a compost bin or a wormery, that is where grounds do the most good — they break down happily in a mixed heap with plenty of brown material.
The jar by the sink has a use. It just is not a miracle in a scoop.
Photo: Diana ✨ / Pexels
Previous Post
DIY Hydroponic Herb Garden from Recycled Containers: A Kratky Method Guide
Next Post
Common Mistakes When Watering Indoor Plants in Winter